After Hagga: how to tell your gear is weak and where to go next
A guide for players who finished the story and hit the grind: normal damage and armor numbers for every tier, the path to tier 6 through testing stations and treasures, quality 0–5, augments, Landsraad rewards and how not to lose everything in the Deep Desert.
Contents
Finished the story, left Hagga and ran into “just grind”? Here is the road to the top tier in real numbers: how damage grows, what actually drops at a testing station and where to claim rewards.
The path in six steps
- 1
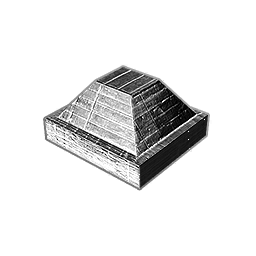 HaggaCopper → iron → steel → aluminum. Tiers 1–4.
- 2
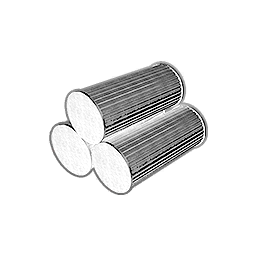 DuraluminumAluminum + jasmium crystals. Tier 5.
- 3
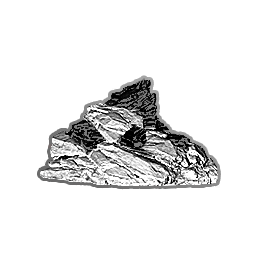 Deep DesertTitanium and stravidium exist only there.
- 4
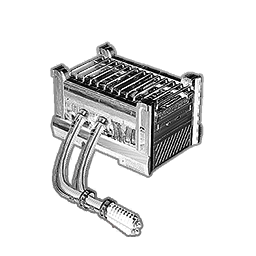 Testing stationsTier 6 components and schematics.
- 5
 Tier 6 craftingPlastanium — the last tier’s material.
- 6
 Quality and augmentsGrowth beyond tier 6.
How damage grows
Kindjal, damage per hit
Karpov 38 rifle, damage per second
If your blades hit for about 140–150 per strike, you are already at the tier 6 ceiling — from there quality and augments do the growing. Find your item through the site search and put it next to others with the “Compare” button.
Example: the Electrical testing station
For top schematics go to challenge level 19 at least, better 40: the chance for high quality is higher there. Above 40 the loot is the same, only the difficulty grows.
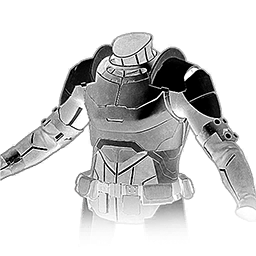
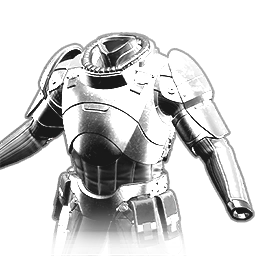
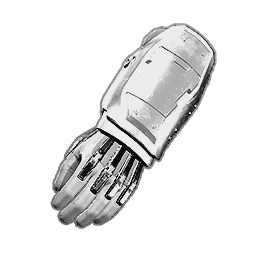
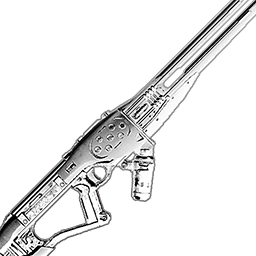
What the final chest after the boss holds at level 20+:
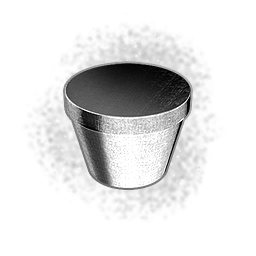
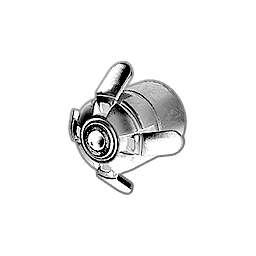
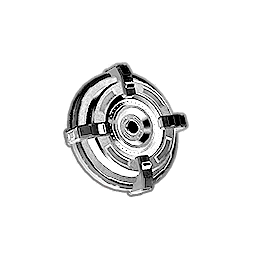
Often · 32% each
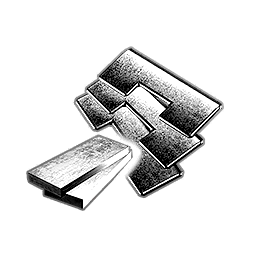
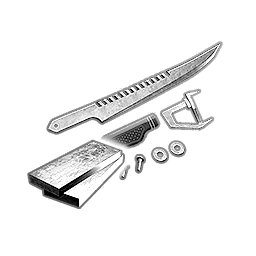
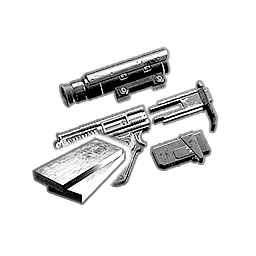
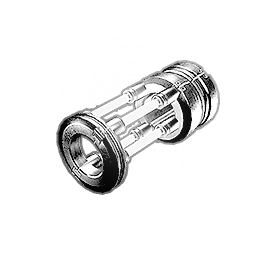
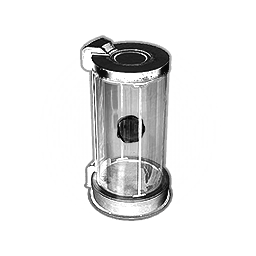
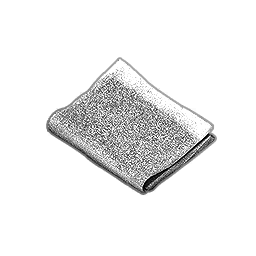
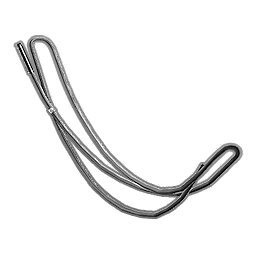
Sometimes · ~13% per schematic
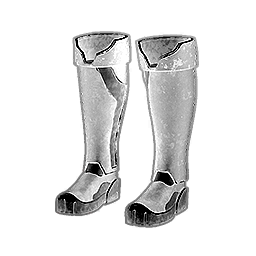
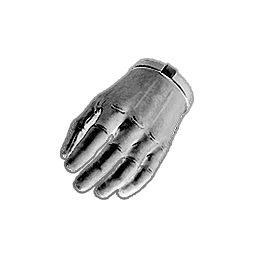
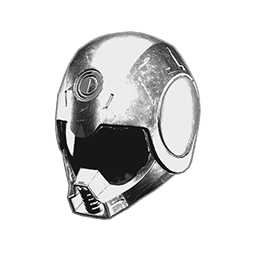
No stations needed: buried treasures in the Deep Desert What drops, with video →
The scanner finds treasures buried in the sand, and in the Deep Desert (the PvE zone included) they hold tier 6 components. They drop for everyone, no skills needed.
Every treasure
- Tier 6 components: one stack always, two more with a 60% chance. 2–9 pieces of a random component per stack.
- Tier 6 resources — four stacks.
- Opafir for the Landsraad — five stacks.
- 33% chance of an item and 5% of a jackpot.
With the Treasure Hunter skill
- A skill of the Exploration specialization.
- Gives a chance of extra loot: more tier 6 resources and components, opafir, another jackpot chance.
- Works on small shipwrecks too.
Beyond tier 6: quality 0–5
Tier 6 unique weapons and armor have a quality. 0 is a plain purple item with no mark, 5 is the best. The higher the station’s challenge level, the better the chance of high-quality gear, and every quality has its own stats. The item page on the site has “Quality” tabs with the recipe for each.
Augments and specializations
What they do
Raise damage and other stats of tier 6 gear. They can’t be removed, and each one lowers durability a little.
Where to apply
At the Augmentation Station. Augment schematics drop at testing stations.
How many slots
Decided by the Crafting specialization: the Garment, Melee and Ranged Augmentation Limit skills. Durability skills are there too.
How to unlock specializations
- Faction level 5
- The House Operator title — from Thufir Hawat in Arrakeen or Piter de Vries in Harko Village
- A guild of your faction
- Specialization XP comes from Landsraad contracts
Landsraad: where to claim rewards
- 1ContractsTaken in the Landsraad menu. They give specialization XP and points for your faction.
- 2House contributionEverything you delivered or killed for a specific Great House counts as your personal contribution to it.
- 3RewardHanded out by that House’s representative, not the quartermaster. Claim it any time after the threshold.
18 of the 25 House representatives are marked on the Hagga map, layer “House representatives”. What each threshold gives is on the Landsraad page.
Deep Desert: how not to lose everything
Common mistakes
Reference table: damage and armor by tier
From the weakest to the strongest item of each tier. The armor row covers light, medium and heavy armor together.
| T1 | T2 | T3 | T4 | T5 | T6 | |
|---|---|---|---|---|---|---|
| Short blades damage per hit | 7–11 | 9–19 | 16–35 | 28–70 | 54–100 | 115–139 |
| Long blades damage per hit | — | 10–21 | 18–38 | 28–77 | 54–110 | 115–152 |
| Sidearms damage per second | 41–63 | 61–99 | 62–179 | 98–293 | 163–425 | 257–616 |
| Rifles damage per second | 25–42 | 39–63 | 62–172 | 102–281 | 127–543 | 168–717 |
| Scatterguns damage per second | — | 86–186 | 131–298 | 79–487 | 99–609 | 131–805 |
| Armor chest piece | 28–104 | 43–169 | 65–257 | 98–375 | 152–425 | 195–525 |